-01.png)


What Is Google Tag Manager?
Google Tag Manager (GTM for short), is a free tool that allows you to manage and deploy marketing and analytics tags on your website without editing code every time.
Instead of hard coding tracking scripts directly into your site, you add GTM once. After that, all tracking updates are handled inside the GTM interface.
Key benefits
- Faster tracking updates without developer help
- Reduced risk of broken site code
- Centralized control for all marketing tags
Built in version control and testing tools
Before You Start
You will need:
- A Google Tag Manager account and container created
How to create a Google Tag Manager account:
- Go to https://tagmanager.google.com
- Sign in to your Google Account. (If you don’t have one, you need to create one for your business.)
- In Tag Manager select Create Account (top right).

- In the Account Setup section, follow these steps:
- Enter an account name.
- Select the country location for the account.
- Create a container

- Admin access to your CMS (Wordpress/ Shopify/ Wix/ Squarespace/ etc.)
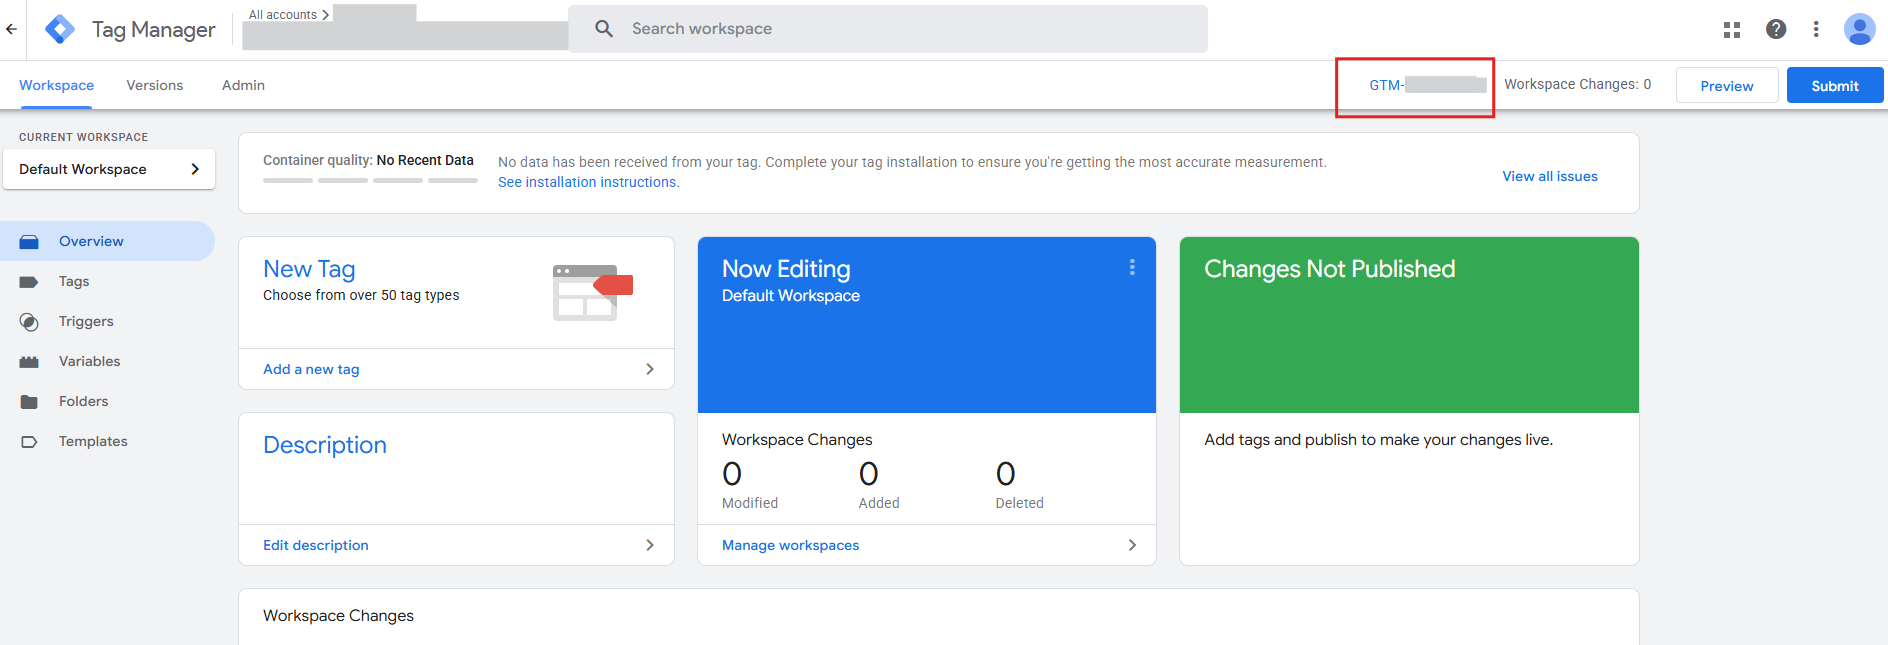
- Your GTM Container ID, which looks like GTM-XXXXXXX
Step 1: Copy Your Google Tag Manager Code
Once your container is created, Google Tag Manager provides two code snippets:
- One script for the <head> section
- One noscript snippet for the <body>
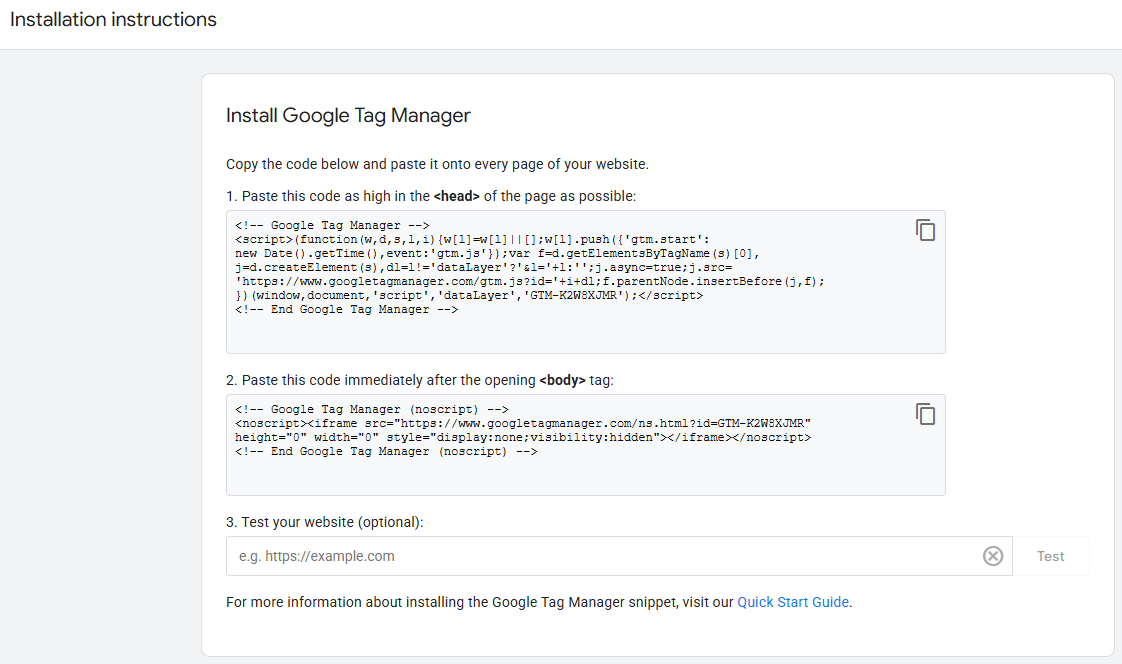
- Keep these codes handy as you’ll need to copy and paste them into your sites. These must be added exactly as provided to ensure proper tracking.
How to get these codes:
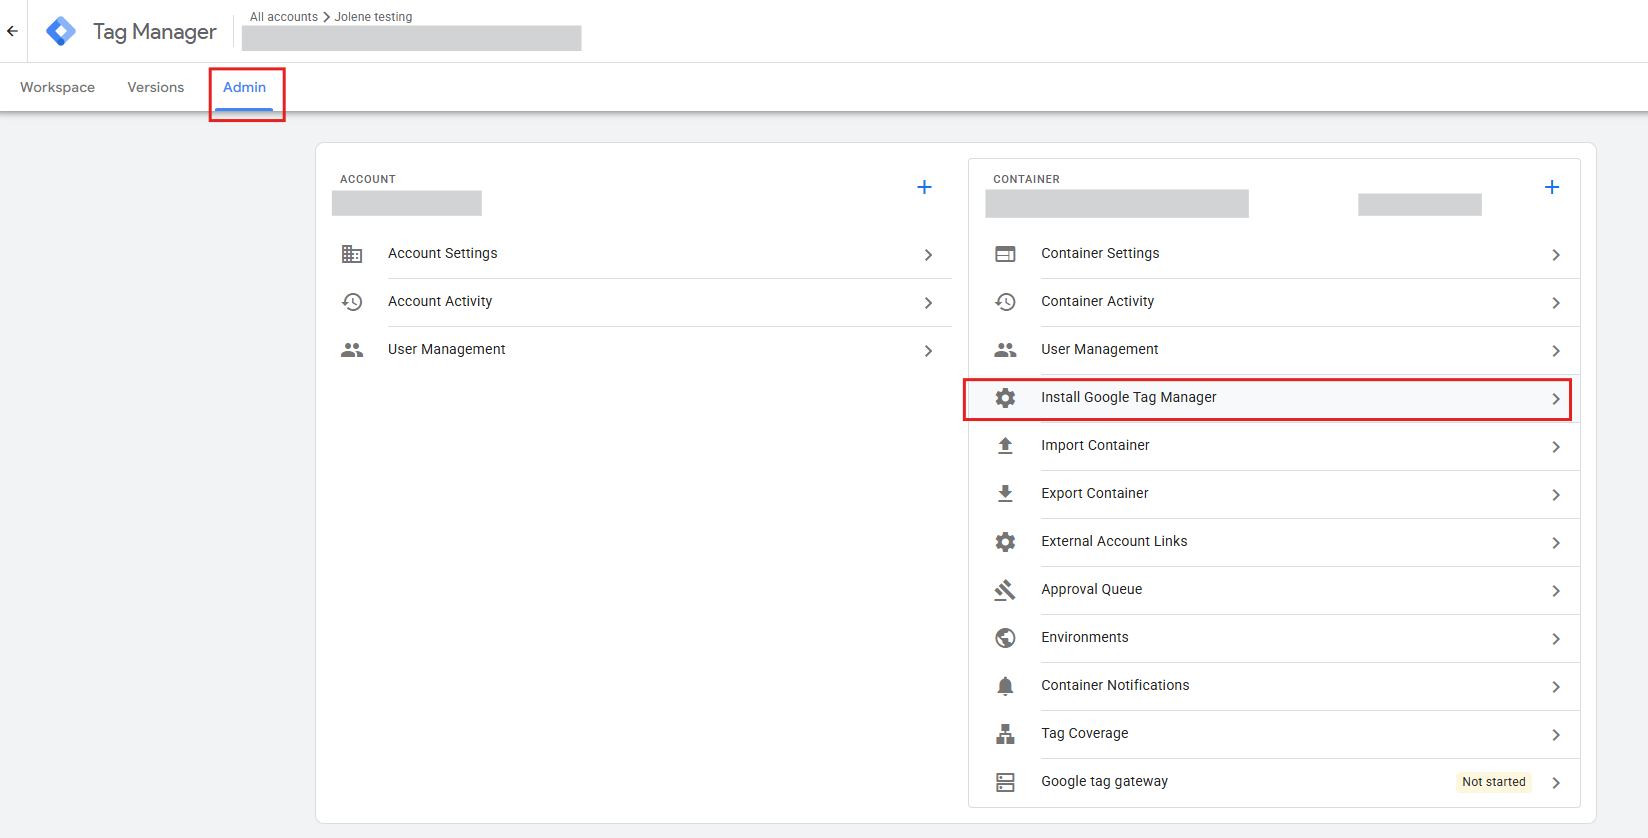
- In GTM, go back to the “Admin” section.
- Click on “Install Google Tag Manager.”
Step 2: Add Google Tag Manager to Your CMS
Below are the most common CMS platforms and how to add GTM to each.
WordPress
Option 1: Using a Plugin (Recommended)
- Install a plugin such as Insert Headers and Footers or a dedicated GTM plugin
- Paste the GTM head script into the header section
- Paste the noscript code into the body section if supported
- Save changes and publish
Option 2: Editing Theme Files
- Log in to your WordPress website. Make sure that your site is publicly accessible (your site isn't in maintenance mode or only accessible through a password).
- In the left side Navigation panel of your site dashboard, click Appearance

- Under Appearance, click Theme File Editor
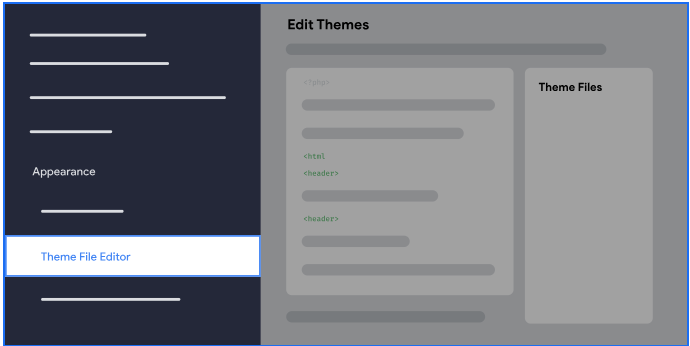
- On the right side panel click Theme Header (header.php) under Theme Files

- Paste your Tag snippet at the bottom of the code editor

- Click Update File and make sure you see a banner “File edited successfully”.

If you change your WordPress theme, you must repeat this process again as the header.php might be overwritten by manual changes. Hence a plugin is safer.
Shopify
Create a Google Tag Manager Custom Pixel (especially if you are using upgraded checkout)
From Jan 2026 onwards, checkout.liquid will be deprecated hence you will require a custom pixel to be created.
- Copy the code block that belongs in the head section of a page.
- Remove the HTML tags from the code block. For example, <script></script>.
- Insert the remaining code into a new Shopify Custom Pixel.
- From your Shopify admin, go to Settings > Customer events.
- Give your pixel a unique name. If you enter the name of a custom pixel that already exists, then you'll be prompted to give your pixel a different name.
- Click Add pixel to open the event editor.
- Optional: In the Customer privacy section, select the Permission and Data sale settings that you want to adjust. Learn more about managing app pixel customer privacy.
- Paste your custom javascript pixel code into the Code window.
- Click Save. If you're ready to connect your custom pixel now, then you can click Connect pixel to start tracking your events.
- Subscribe to customer events and push to GTM’s dataLayer.
- To review how the code should display, refer to the example Google Tag Manager custom pixel.
- Configure Google Tag Manager to accept events from your Custom Pixel.
Optional: If you have existing dataLayer.push(event) calls in your checkout.liquid file, then replace it with analytics.publish().
Wix
- Open your Wix dashboard
- Go to Marketing Integrations in your site's dashboard.
- Click Connect under Google Tag Manager.

- Click Add Google Tag Manager.
- Enter your Google Tag Manager ID.
- Click Save.
Squarespace
- Log into your Squarespace account and go to Website > Pages > Website Tools > Code Injection
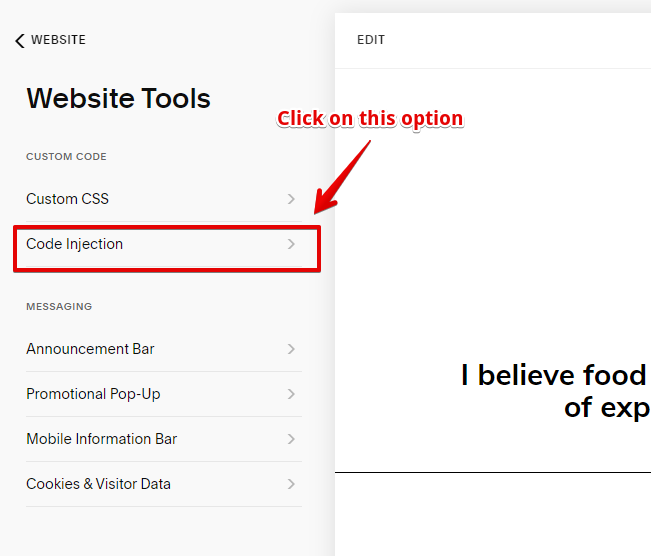
- Paste the <head> Google Tag Manager code snippet into the “Header” box.
- Paste the <body> code into the “Footer” box.
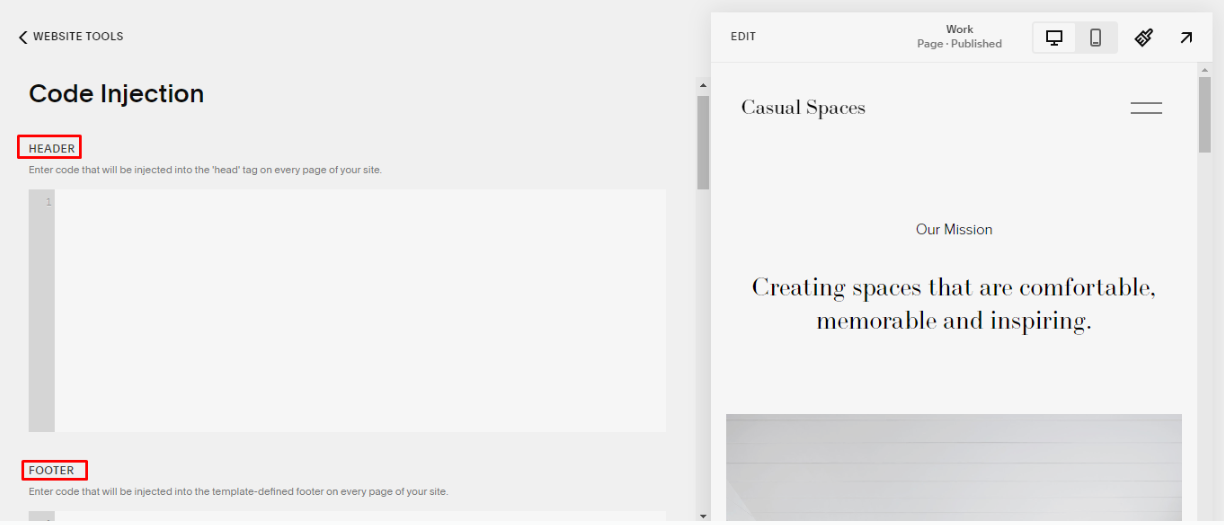
- Click “Save.”
Step 3: Test Your Installation
After installing Google Tag Manager, always verify that it works.
- In GTM, go back to the “Admin” section.
- Click on “Install Google Tag Manager.”
- Enter your website URL and click “Test.”

- GTM will notify you if the snippet has been successfully installed.
Common Mistakes to Avoid
- Adding GTM code twice
- Installing GTM through both a plugin and manual code
- Publishing tags without testing
- Using the wrong container ID
These issues can lead to duplicate data or broken tracking.
Final Thoughts
Adding Google Tag Manager to your CMS is a one time setup that unlocks long term flexibility for tracking and marketing. Once installed, future updates can be made without touching your website code again.